
Step-by-Step Guide: Adjusting Focus on Security Camera
Links to Amazon and other retailers on this page can be affiliate links or other sponsored advertising.
When you click and/or make a purchase, JADCOM Media LLC may earn a small commission. Thank you.
In the realm of security surveillance, ensuring clear and detailed monitoring footage is paramount for effective monitoring and analysis. While modern security cameras are typically equipped with autofocus features, there are occasions where manual adjustment of the focus is necessary to achieve optimal image quality.
In this article, we’ll take Techage WIFI camera 815 as an example to explore how to manually adjust the focus of security surveillance cameras. Visit Amazon for all Techage WiFi cameras.)
Comprehensive Classification of Surveillance Camera Lenses
Security surveillance camera lenses capture video images and transmit them to monitoring systems by focusing scene light onto the camera’s image sensor. They vary in focal lengths and field of view angles to meet monitoring needs, with wide-angle lenses for large areas and telephoto lenses for distant details. Choosing the right lens is vital for effective information capture.
1. Interface Type Classification
- M12 Interface
- D14 Interface
- CS Interface
- C Interface
2. Aperture Classification
- Fixed Aperture: F0.9, F1.0, F1.2, F1.6, F1.8, F2.0, F2.2, with F0.9/1.0/1.2 being large apertures suitable for low light or starlight environments.
- Automatic Aperture: Automatically adjusts based on the intensity of light.
3. Focal Length Classification
- Fixed Focal Length Lens: Fixed focal lengths such as 2.8mm, 3.6mm, 4mm, 6mm, 8mm, 12mm, 16mm, 25mm, 35mm, etc.
- Zoom Lens: Adjustable focal length lenses, for example, 2.8-12 mm, 2.8-13.5mm, 6-22mm, 5-50mm, 5-100mm, etc.
4. Other Feature Classification:
- Panoramic Lens (Fisheye Lens): Provides a 360-degree panoramic view, suitable for monitoring all-round scenes.
- Auto Focus Lens: Automatically adjusts focus to maintain image sharpness.
- Infrared Lens: Specifically designed for infrared night vision surveillance, captures infrared light to enhance nighttime monitoring effectiveness.
These classifications integrate the interface, aperture, focal length, and other characteristics of security monitoring camera lenses, helping users choose appropriate lens types based on different monitoring needs.
Why Your Security Camera’s Lens Might Be Blurry
Have you ever encountered a situation where your security camera’s footage unexpectedly turns blurry, much like the image below?
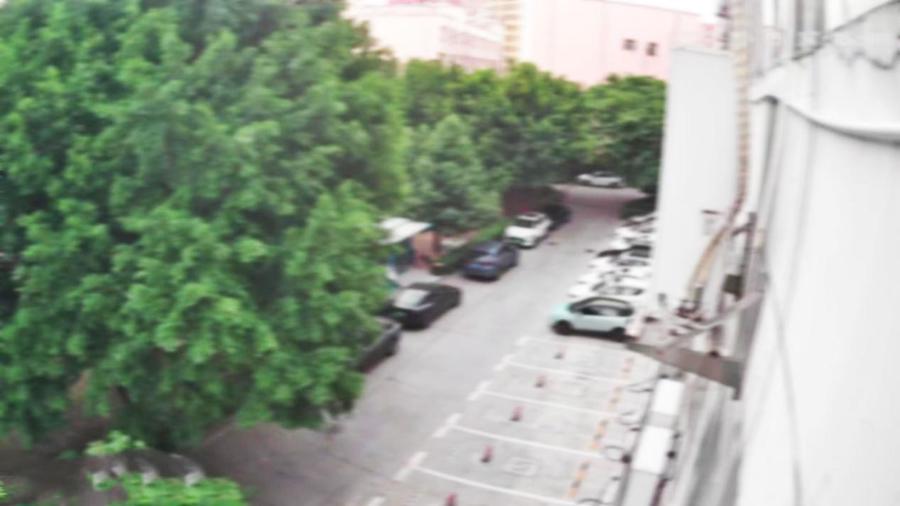
No matter how diligently you try to wipe the lens, the blurriness persists, leaving you frustrated and unable to restore clear surveillance. This sudden occurrence often induces anxiety and helplessness, especially in critical moments, as it could lead to
serious consequences.
First, let’s understand why your security camera’s lens might be blurry.
Several factors can affect the image quality of security cameras. For instance, the lens might be out of focus, the lens surface could be contaminated, there might be defects in the image sensor, the IP camera connections could be loose, or you might be using low-resolution CCTV cameras, among other possibilities.
If you feel comfortable addressing this project yourself, follow along below. If not, it’s a good idea to engage a professional.
Step-by-Step Guide: Adjusting Focus on Security Camera
The 815 camera belongs to the fixed focal length lens we mentioned above, and its lens size is 3.6mm.
Here is a detailed step-by-step guide on how to manually adjust the focus of Techage WIFI Camera 815:
Step 1: Preparation
Prepare gloves to prevent static electricity. Locate tweezers, focus plates (or pictures), UV glue and dryers (or replaced by PA1.4*7 screws instead.)
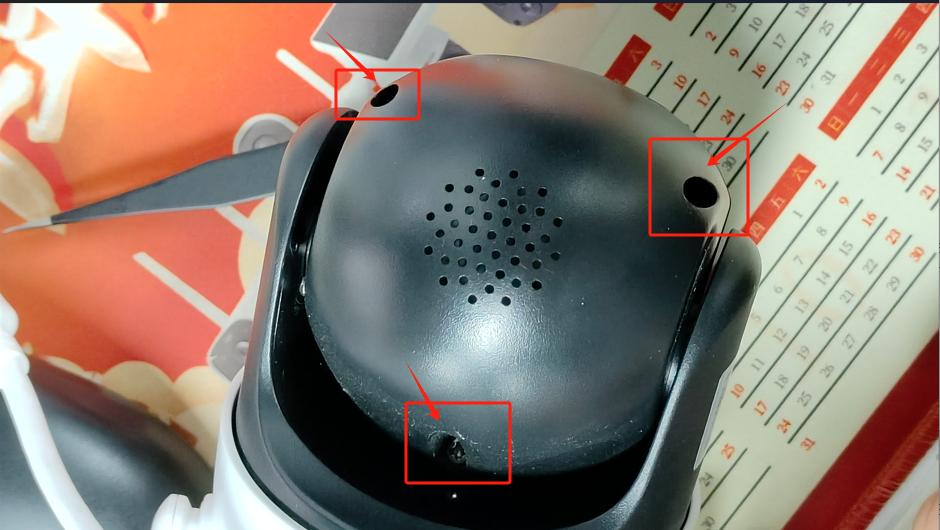
Step 2: Remove the Front Cover
Start by loosening the three screws on the rear cover, then carefully remove the front cover, in order to proceed to the next step.
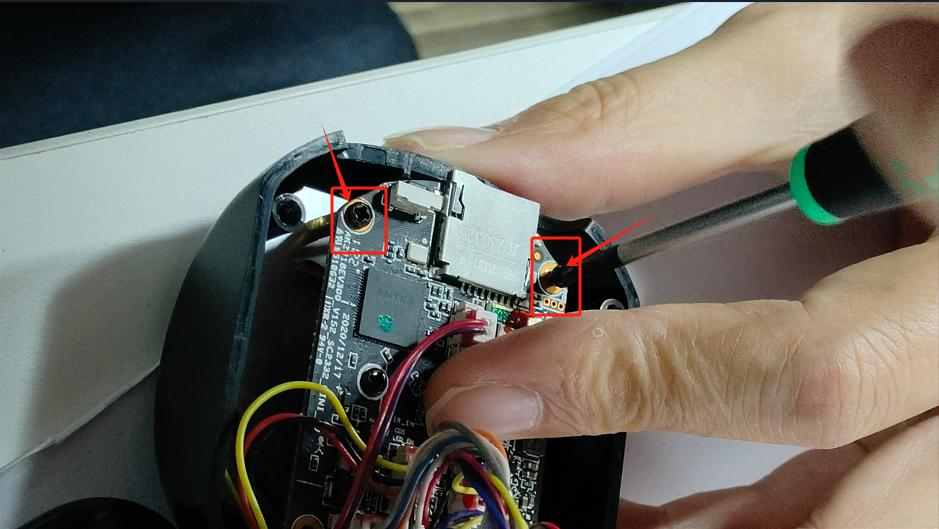
Step 3: Removing the Main Board
After removing the front cover, proceed by unscrewing the two screws securing the main board in place, and carefully take out the main board from the CCTV camera housing. Be careful not to touch other connecting wires in the motherboard.
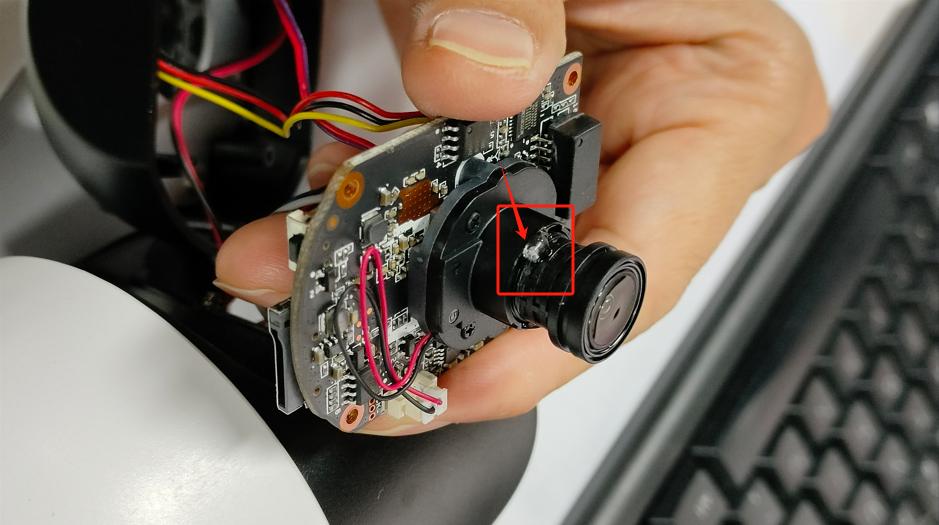
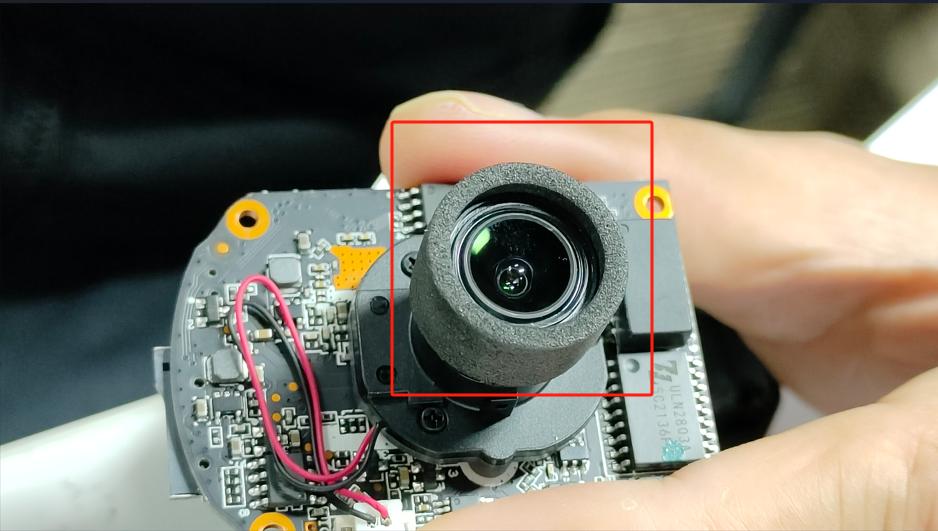
Step 4: Preparing for Lens Adjustment
Before adjusting the lens focal length, you must first remove the Shading cotton, then use a small knife to remove the UV glue near the lens or gripping the lens with pliers, and slowly loosen the lens nut.
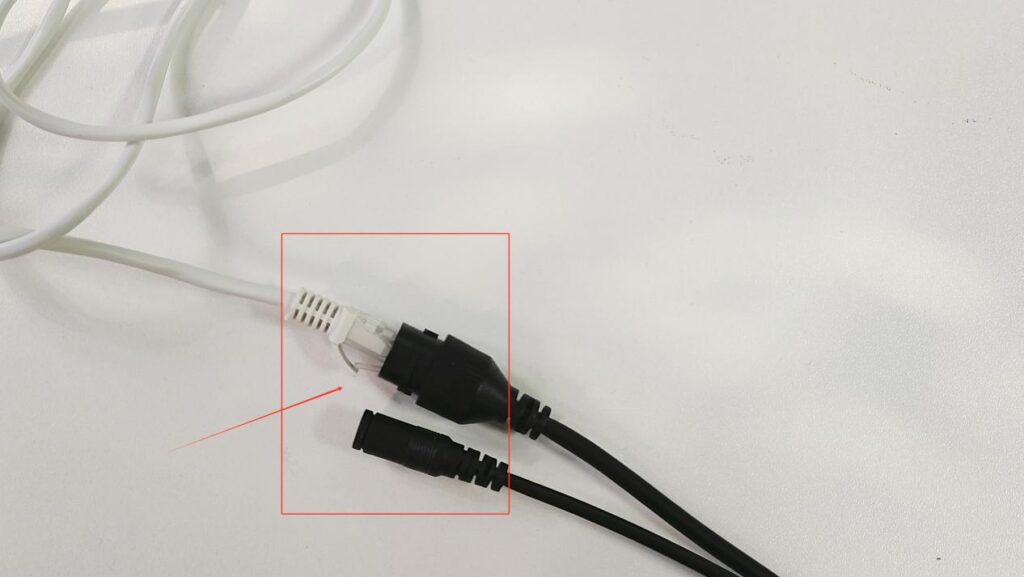
Step 5: Surveillance Camera Setup
Separate Power the Surveillance camera with a 12V power supply and connect it to a computer or NVR using an Ethernet cable. This setup makes it convenient for us to view the output image of the surveillance camera in real time while focusing, making it easy to adjust the focal length.
Step 6: Manual Focus Adjustment
First, place the focusing board at a distance of about 5 meters. If you don’t have a focusing board at home, you can choose to use pictures instead.
Direct the IP camera lens towards a focusing target and begin manual focus adjustment. Twist the lens by hand and operate carefully until the image output from the camera on the monitor becomes clear. If the image on the monitor becomes increasingly blurry, adjust the lens in the opposite direction until the image is clear.
Step 7: Securing Lens Position
Once the desired focus is achieved, the image output by the camera is clear, stop focusing and fix the lens in place using UV glue or 1.4 * 7 screws. The UV glue also needs to be prepared with a dryer to ensure it remains firmly fixed.
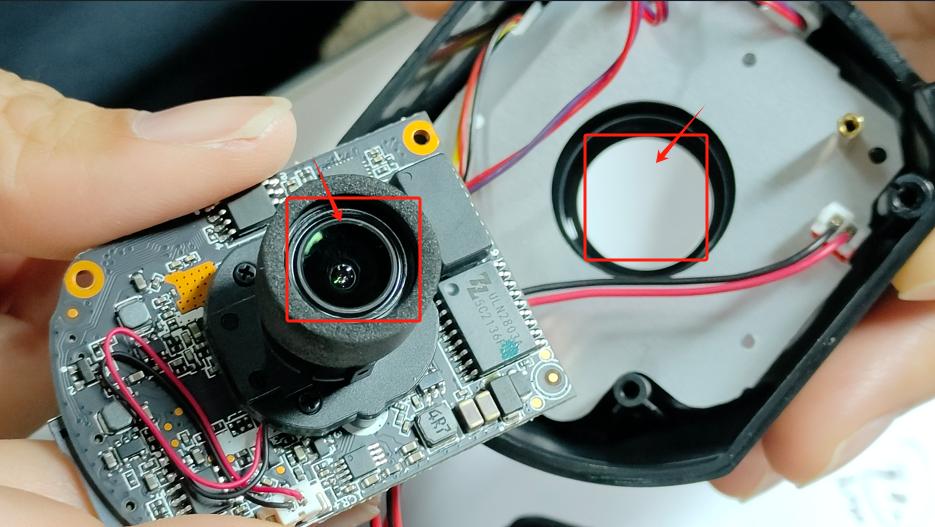
Step 8: Installing Shading Cotton
Reinstall the Shading cotton around the lens assembly, ensuring it protrudes approximately 2mm above the camera lens surface to provide proper sealing.
Step 9: Lens Inspection
Before reassembling the IP camera, check for dust or debris on the lens and front cover glass. If present, thoroughly clean them to prevent interference with image quality.
Step 10: Reassembly
Carefully reinstall the motherboard and secure it with two screws. When installing, pay attention to the waterproof strip in the groove and do not let it detach from the groove to prevent water from entering the camera during subsequent use. Then, install the back cover and tighten the three screws to complete the focusing process.
Getting Started
By following these detailed instructions, users can ensure that their security cameras are finely tuned to capture clear and crisp images, enhancing overall surveillance effectiveness.
If you want to learn more about Techage brand cameras, visiting Techage official website might be helpful. Perhaps there, you’ll find more solutions to your problems. For convenience, visit the Techage store on Amazon.
Explore their products and resources; it may assist you in resolving your concerns. Visit their website to gain deeper insights into Techage innovative solutions and professional guidance.


